Button Feeding Systems: How the Process Works
Follow buttons from bulk loading through separation and orientation to one confirmed pickable part, with replenishment, damage and recovery checks.
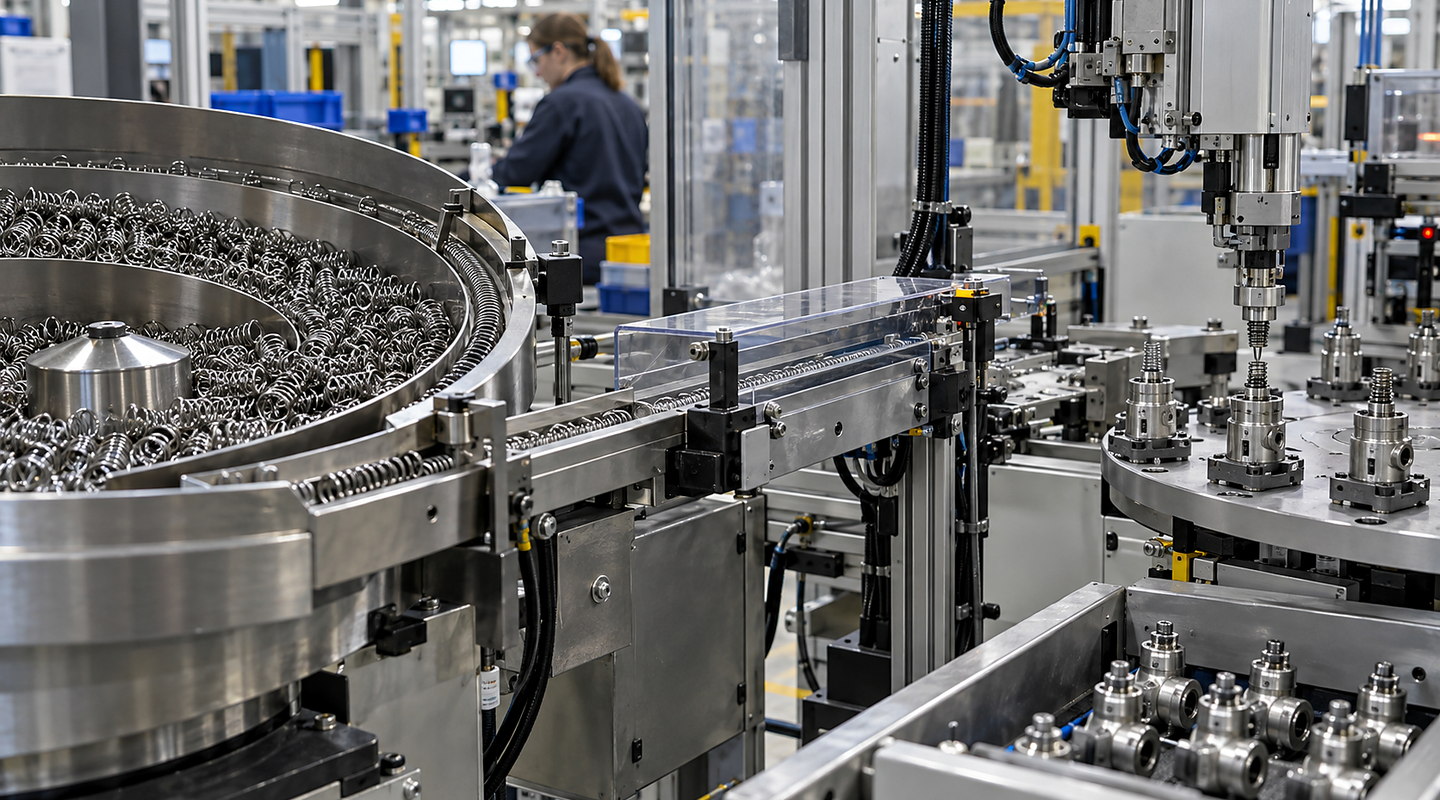
Photographs show general component feeding, including coil springs. Button feeding must be assessed with the actual button range and required pick-up condition.
Load representative bulk buttons, separate overlaps or nests, orient the required face and present one button at the downstream pick point. Confirm the face, rotational position and single-part condition before the next operation takes the button.
Use the actual flat and shank button range and the real receiving nest. Agree usable delivery, cosmetic and recovery checks rather than comparing feeder output alone.
Understand the complete route from input to accepted output — Button Feeding Systems
Plan button feeding systems around real component variation, bulk condition, orientation, usable delivery rate and the downstream interface. Discuss representative part trials with Sorting Solutions. Follow the material or part through each operating step and include recovery, cleaning and change in the real cycle.
Discuss your application

Four clear stages for button feeding systems
At each stage, you can review how component geometry and variation for button orientation & automatic feeding and jam, damage and recovery acceptance checks affect the next commitment.
- 01
Review Representative Production Components
Provide dimensioned flat and shank variants, supplier variation and the required face and rotational datum at pickup. Keep approved formats distinct from normal variation within each format.
- 02
Trial Separation, Orientation and Presentation
Load the buttons in their intended bulk condition, including nests, stacks and overlaps. Trial separation and orientation, and compare accepted single parts alongside scuffing, chipped edges and interventions.
- 03
Develop Tooling, Controls and the Downstream Interface
Use the receiving nest or gripper, pickup height and available clearance. Agree the machine demand and single-part signal sequence, including when the next button may advance.
- 04
Challenge Delivery, Replenishment, Jams and Recovery
Include replenishment, missing and double parts, jams and a format change. Record the agreed recovery tasks and the first acceptable single button presented after restart.
Decisions and results stay connected
| Stage | What happens | What you can review |
|---|---|---|
| Review Representative Production Components | Define the approved button formats, normal supplier variation and the required pick-up face and position. | Dimensioned samples, format list, cosmetic acceptance samples and the receiving nest or gripper. |
| Trial Separation, Orientation and Presentation | Trial bulk separation and orientation with nests, overlaps and decorative surfaces from the real button range. | Accepted single-part delivery, orientation errors, damage, double presentations and interventions. |
| Develop Tooling, Controls and the Downstream Interface | Connect the feeder, escapement and downstream pickup using the agreed loading and machine-demand pattern. | Pickup height, clearance, receiving nest and the sequence for part available, taken and next advance. |
| Challenge Delivery, Replenishment, Jams and Recovery | Challenge replenishment, missing or double parts, jams and format recovery under agreed conditions. | Accepted-part and cosmetic results, intervention and changeover records, and first acceptable pickup after restart. |
Keep connected responsibilities clear
Your final button feeding systems scope must also account for escapement and downstream pick interface, jam, damage and recovery acceptance checks, current regulations and the conditions at your site.
- Sample trials must include normal, marginal and supplier-variant components.
- Quoted feeder output is not the same as usable delivery at the downstream process.
- Fragile, flexible, magnetic or entangling parts may need a different presentation method.